Hand Painted Ornaments

One of my new favorite ways to decorate for the holiday season is to make my own ornaments. While walking through my local craft store, I spotted a whole bunch of blank ornaments. I just knew I had to use them in a project immediately. With some paint, a little imagination, and room to get messy, you can have your own set of custom ornaments!
If this is your first time making these, I’d suggest trying out the plastic set first to get the hang of things. They’re also kid-friendly if you’re working on these with young ones.
Materials List
The following list has all the supplies and tools you'll need to make this project.
These affiliate links help to keep Craftic running at no extra cost to you. Thank you for your support! 💛
Step 1
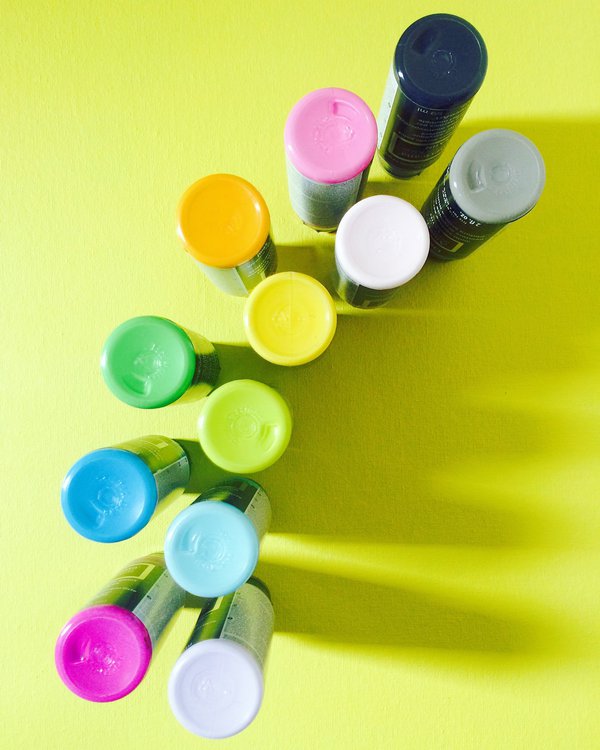
Remove the tops of the ornaments and store in a safe place. Get your acrylic paints out! You can mix and match or select a palette that matches your holiday cards, as I did here.
Step 2
To paint the ornament’s interior, squeeze paint directly from the bottle into the ornament. Depending on your paint’s viscosity, you can either swirl it around to get a good coating (if it’s more fluid) or move the paint around with a paint brush (if it’s thicker).
Step 3
Place all ornaments upright on a paper plate and let the excess paint drip down overnight. If you place them on a napkin, it’ll be more difficult to remove the ornament from it and you’ll end up with bits of napkin on the edges.
Step 4
Check on your ornaments the next day. If there are splotches where the paint dried, go over each spot with a bit of paint on a brush.
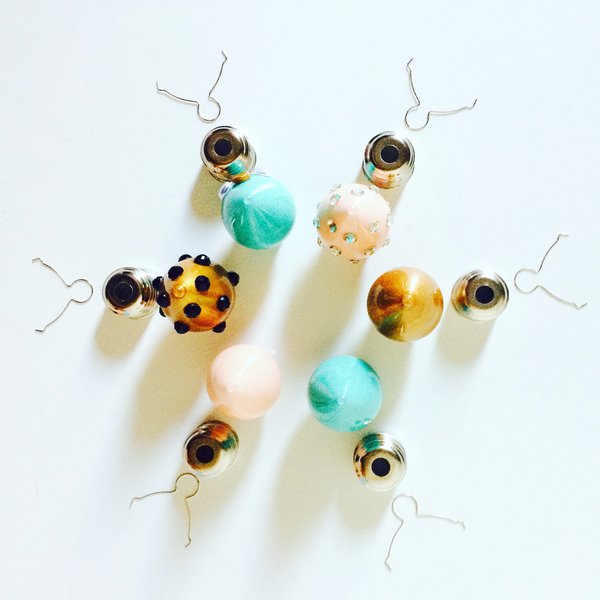
Step 5

Decorate the outside of the ornament however you wish! Using craft glue, you can attach sequins, buttons, and beads to create patterns, googly eyes to make faces, or anything else. Leave to dry for at least an hour.
Step 6
Now that your ornaments are ready, place the tops back and decorate your home with your newly created works of art! These also make great last minute gifts.
🎉 Final Step: Show Off Your Work!
Post your WIP and finished project photos on Instagram. Add #crafticProjects and tag @crafticland for a chance to be featured on Craftic's social channels and newsletter.