Bumpy Knit Cowl
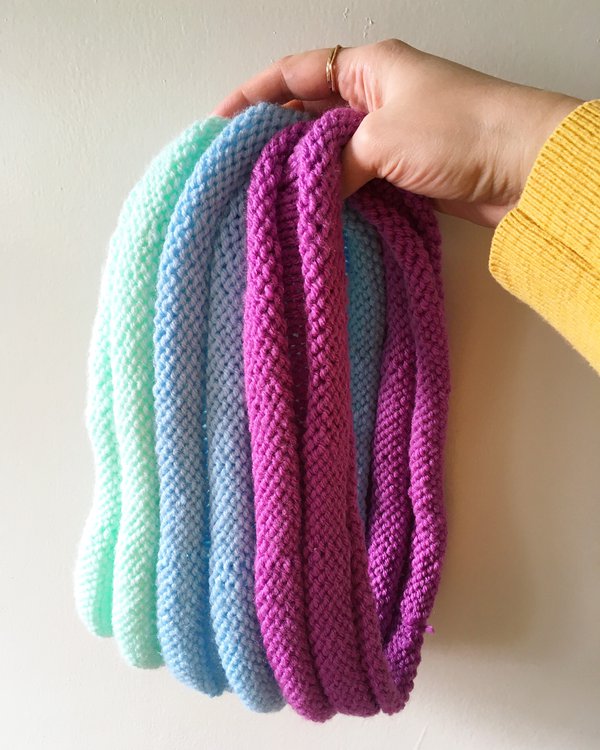

When it's chilly out and you want to work on a quick project, this is the perfect beginner-friendly knitting project for you. This pattern is simple and great for knitting while you hang out on the couch and catch something on Netflix.
Materials List
The following list has all the supplies and tools you'll need to make this project.
These affiliate links help to keep Craftic running at no extra cost to you. Thank you for your support! 💛
Terms
CO: Cast on
K: Knit
P: Purl
BO: Bind off
Materials
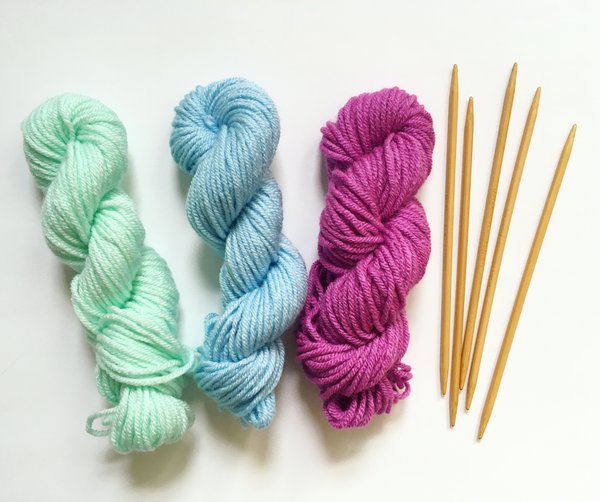
- Yarn: Worsted weight
- Needles: Size 7 DPNs
Note: For this project, you will need about 2 skeins total of yarn. The cowl pictured used less than half of a 218-yard skein of 3 different colors.
This project was made using Knit Pick's Brava Worsted yarn in the colors Mint, Sky Blue, and Lady Slipper (purple).
Notes
Size note: This cowl has a structured but slightly loose fit. If you'd like to make your tube more snug, CO 88 stitches.
Project idea: Since this cowl design has 6 "bumps", it would lend itself well to a rainbow version!
Pattern
CO 92 stitches
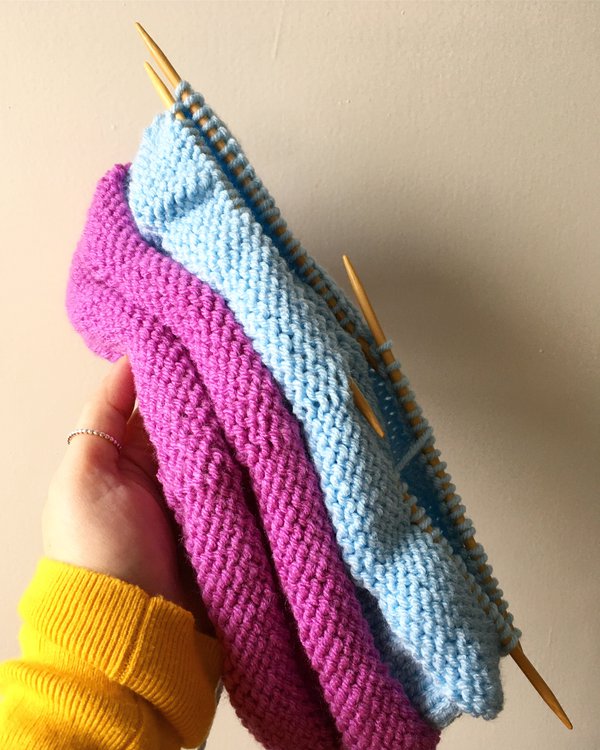
One "bump":
Rows 1-8: Knit entire row
Rows 9-16: Purl entire row
Repeat "bump" in whatever pattern you'd like! This cowl has 2 "bumps" in 3 colors for a total of 6 bumps.
BO purl-wise
Alternate Pattern - Knit Flat

If you'd like to adapt this pattern to a flat shape, this is the adjusted pattern for flat needles:
One "bump":
Row 1: Knit entire row
Row 2: Purl entire row
Repeat Rows 1 & 2 three (3) more times for a total of 8 rows
Row 9: Purl entire row
Row 10: Knit entire row
Repeat Rows 9 & 10 three (3) more times for a total of 8 rows
You can whip stitch or single crochet the sides together to form the tube.
🎉 Final Step: Show Off Your Work!
Post your WIP and finished project photos on Instagram. Add #crafticProjects and tag @crafticland for a chance to be featured on Craftic's social channels and newsletter.