Custom Appreciation Cards for Small Business Owners

If you've ever bought something online and received a handmade card, you know how lovely it feels to know that someone took time from their busy day to handwrite you a note.
As a small business owner, you're busy processing orders and you might want to make cards for all of your wonderful customers but it seems like a lot of work to hand draw something each time!
Stamping can be a great and affordable way to create custom cards for your customers. These 4 stamped cards will level up your packaging and delight your customers with some truly happy mail. :)
Disclosure: This post is sponsored by RubberStamps.com who sent me these awesome products for this project!
Materials List
The following list has all the supplies and tools you'll need to make this project.
These affiliate links help to keep Craftic running at no extra cost to you. Thank you for your support! 💛
- Elmer's All Purpose Glue Stick
- Sissix White Foam Tape
- RubberStamps - Stamp Cleaning Solution
- RubberStamps - Black Pigment Stamping Ink
- Colorful Set of Blank Cards and Envelopes
- RubberStamps - 4"x4" Acrylic Stamping Block and Stamp Cleaning Solution Combo (better price!)
- Recollections 8.5" x 11" Assorted Cardstock Paper
- 3D Foam Double-Sided Adhesive Dots
- RubberStamps - 4"x4" Custom Clear Stamp
- Tombow TwinTone Marker Set, 12-Pack Bright
- Fiskars All Purpose Scissors
- RubberStamps - 4"x4" Acrylic Stamping Block
Step 1: Create Custom Stamp
If you're a small business owner, you may already have a logo stamp. A logo on your appreciation cards may be functional but why not show off your brand's personality with more details?
You can create your own custom stamp with supplementary elements from your branding like icons, patterns, quotes or mottos, or other details that represent you and your business.
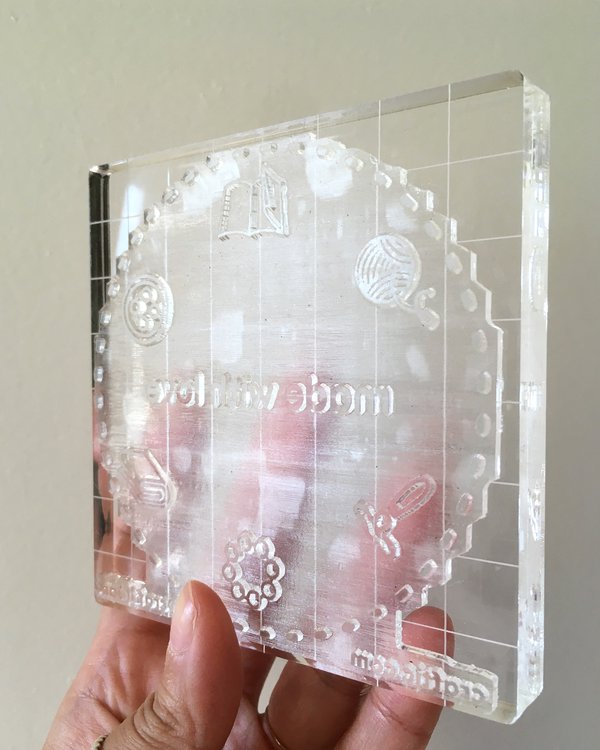
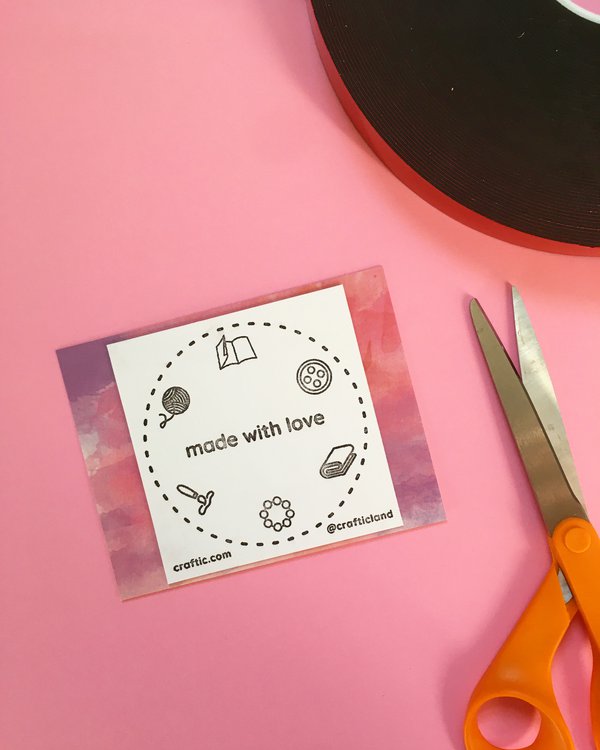
On this custom 4"x4" stamp design, I have included all of Craftic's 6 main category icons - paper, yarn, beads, fabric, buttons, and paint - as well as the site url and social media handle. The design is completed with a stitched border that is influenced by Craftic's logo.
Okay, now we've got our custom stamp done. Let's get prepping!
Step 2: Getting Ready

First thing's first - let's get everything ready so we can be ready to stamp away to our heart's content!
Get all your materials and tools ready and lay them out. Prep your space - stamping can get messy so make sure to use a surface you don't mind getting dirty or place a protective layer like scrap packaging paper or newspaper on your surface.
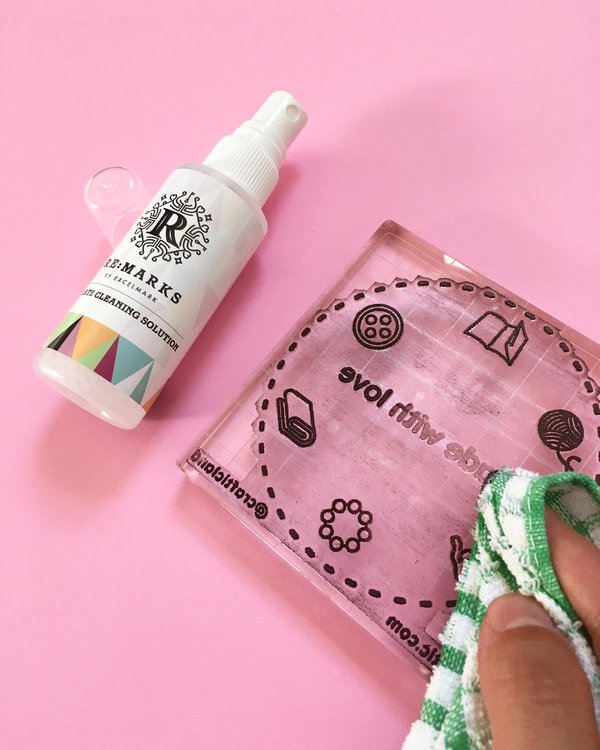
In this project, I will only be using black pigment ink. If you are using a light ink color, make sure your stamp is completely clean by using a stamp cleaning solution so you don't have any color distortion.
Step 3: Getting Inky
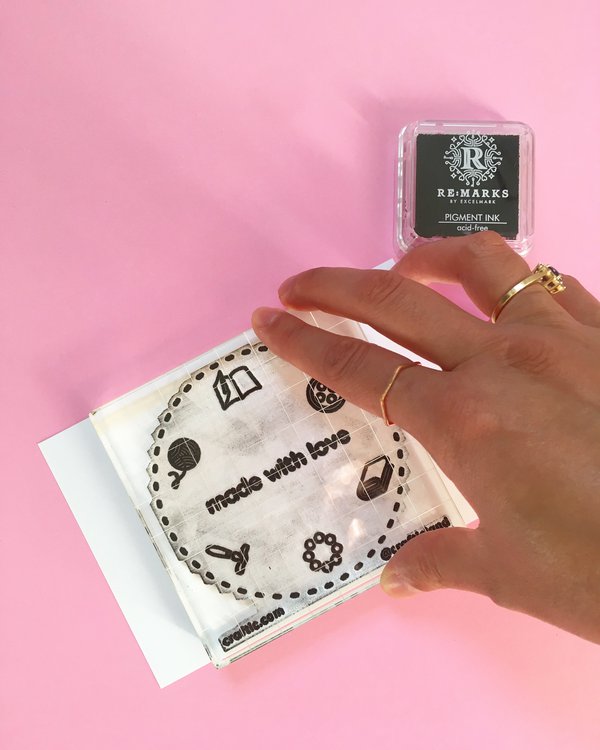
Alright, we're now ready to start stamping! First, use the guidelines on the acrylic block to help you mount the acrylic stamp onto the block. You'll want to attach the clear stamp to the ridged side of the acrylic block
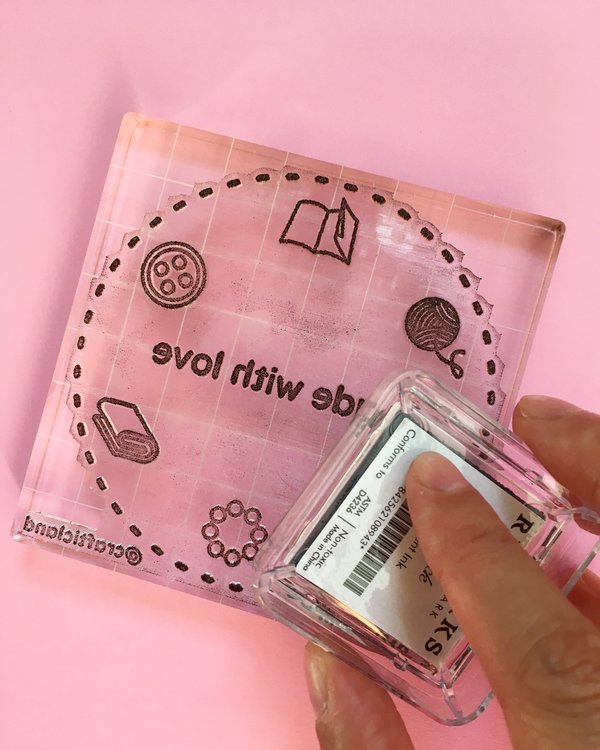
Ink your stamp completely using the black pigment ink (or whatever color you’d prefer). Since we're using an oversized stamp, it's best to lay the stamp down and tap it with the ink pad as seen in the photo. This will give you more control over how much surface area is inked and it prevents overinking the stamp.
Step 4: Card v1 - Super Simple
Are you in a busy period in your business and want to crank out lots of cute cards without too much hassle?
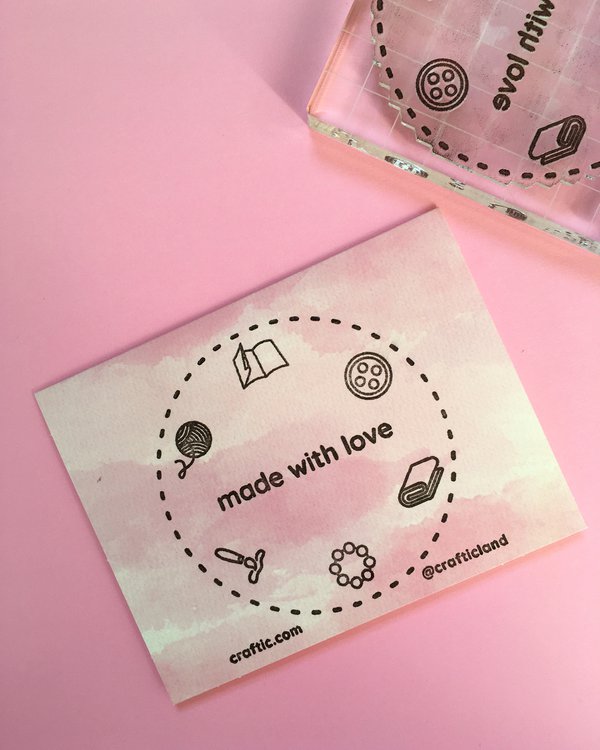
Then this card style is for you! Simply ink your blank card, set it out to dry, and stamp the next card in the queue!
Design tip #1: You can opt for a minimalist look and use a solid color card with your stamp. Or you may want to opt for colorful and/or patterned cards that will make your stamp design really stand out!
Design tip #2: Use blank cards in your brand colors for cohesive packaging.
Step 5a: Card v2 - Simple & Layered
Alright, you've got a few more free minutes in your workday and want to step up your design a bit!
Let’s add some layering and dimension to this design to make your card design a bit more interesting.
First, stamp your design onto a piece of cardstock.
Design tip: use a neutral color like white cardstock so you can batch make lots of these and they'll match any blank cards you have on hand!
Step 5b: Simple & Layered - Finished Card
Using double-sided dimensional tape, adhere the stamped cardstock onto the blank card. I've used two pieces of foam tape to attach the left and right sides. You don't need to overdo it!
Design tip: Feel free to mix and match blank cards and cardstock colors. Use your brand colors, white cardstock on a bright colorful card, colorful cardstock on a white card, mix and match patterned paper and cards, or whatever you'd like.
Step 6a: Card v3 - Dimensional Elements
Now that you’ve gotten the hang of stamping and layering, let’s take the card to another level!
In your branding, do you have icons, a business motto, or other supplementary elements that you would like to highlight? You can also use your logo or website URL, if you'd like. Alright, let's make these elements POP!
Stamp your design onto a piece of cardstock and fussy cut out all the elements you’d like to emphasize in your card design. If you’re not familiar with the term, “fussy cut” means to hand cut a shape with scissors (as opposed to using a cutting machine).
In this design, I cut out all 6 of Craftic's website category icons in a contrasting color.
Step 6b: Dimensional Elements - Finished card
On a piece of cardstock, stamp your design. You will layer your elements over this stamped base.
Using double-sided dimensional tape, glue the elements onto your card over the base design. Finally, use the glue stick to adhere the cardstock to your blank card.
Design tip: If the foam tape is too large for your elements, cut down the tape with scissors or you can use dimensional glue dots if you prefer to not deal with cutting sticky foam. :)
Step 7a: Card v4 - Handwritten Thank You
For this step, instead of inking the entire stamp design, you will ink everything except the “made with love” sentiment, the website URL, and social handle.
Make sure the sentiment is completely clean using the stamp cleaner solution!
If you'd like to be on the safe side (and not get stray inking as I did here), after you're done inking the stamp, you can use a piece of washi tape on the parts you don't want to stamp.
Step 7b: Handwritten Thank You - Finished card

As before, stamp your design onto a piece of cardstock. I used a pale pink cardstock in this card design so it would match the blank card.
Now let's personalize the card and handwrite a nice message. In this example, I used a hot pink marker to handwrite “Thank you, Teresa” so that my customer will feel extra appreciated!
Using the same marker, you can color in other design elements. On this card, I partially colored in the crafting icons for a more cohesive look.
Step 3: Make Lots of Cards!

Since you’ve got your workspace set up and your supplies ready to go, keep going and make lots of cards for your packaging inventory!
Batch-making custom cards is a great activity during the slower sales months. Once those orders start coming in full force during your busy season, you'll thank your past self for making so many awesome cards and having them ready to go!
Whew! In this tutorial, you've learned how to make 4 types of cards using just 1 stamp design! Which one was your favorite? Make sure to tag @rubberstamps_com and @crafticland on Instagram with your custom cards designs!
🎉 Final Step: Show Off Your Work!
Post your WIP and finished project photos on Instagram. Add #crafticProjects and tag @crafticland for a chance to be featured on Craftic's social channels and newsletter.